6 Things You Need To Know Before Building A Granny Flat
Are you planning to build a granny flat on your property? Check out our guide on the top six things you need to consider before you begin.
Read Full StoryKnowing how to measure, mark, and cut wood is essential if you are trying to experiment or brush up on your carpentry skills.
Woodworking is a great hobby and can help you earn some extra money. However, it is necessary to take accurate measurements and make the right cuts to get it done right. Having the right tools to complete a DIY job around your home.

But rest assured, you would not need to make hefty investments to start the process, as most of the required tools are affordable. All you need to do is learn to use them correctly. And we have designed this guide to teach you how to measure and cut timber properly.
So, without further ado, let’s dive right in!
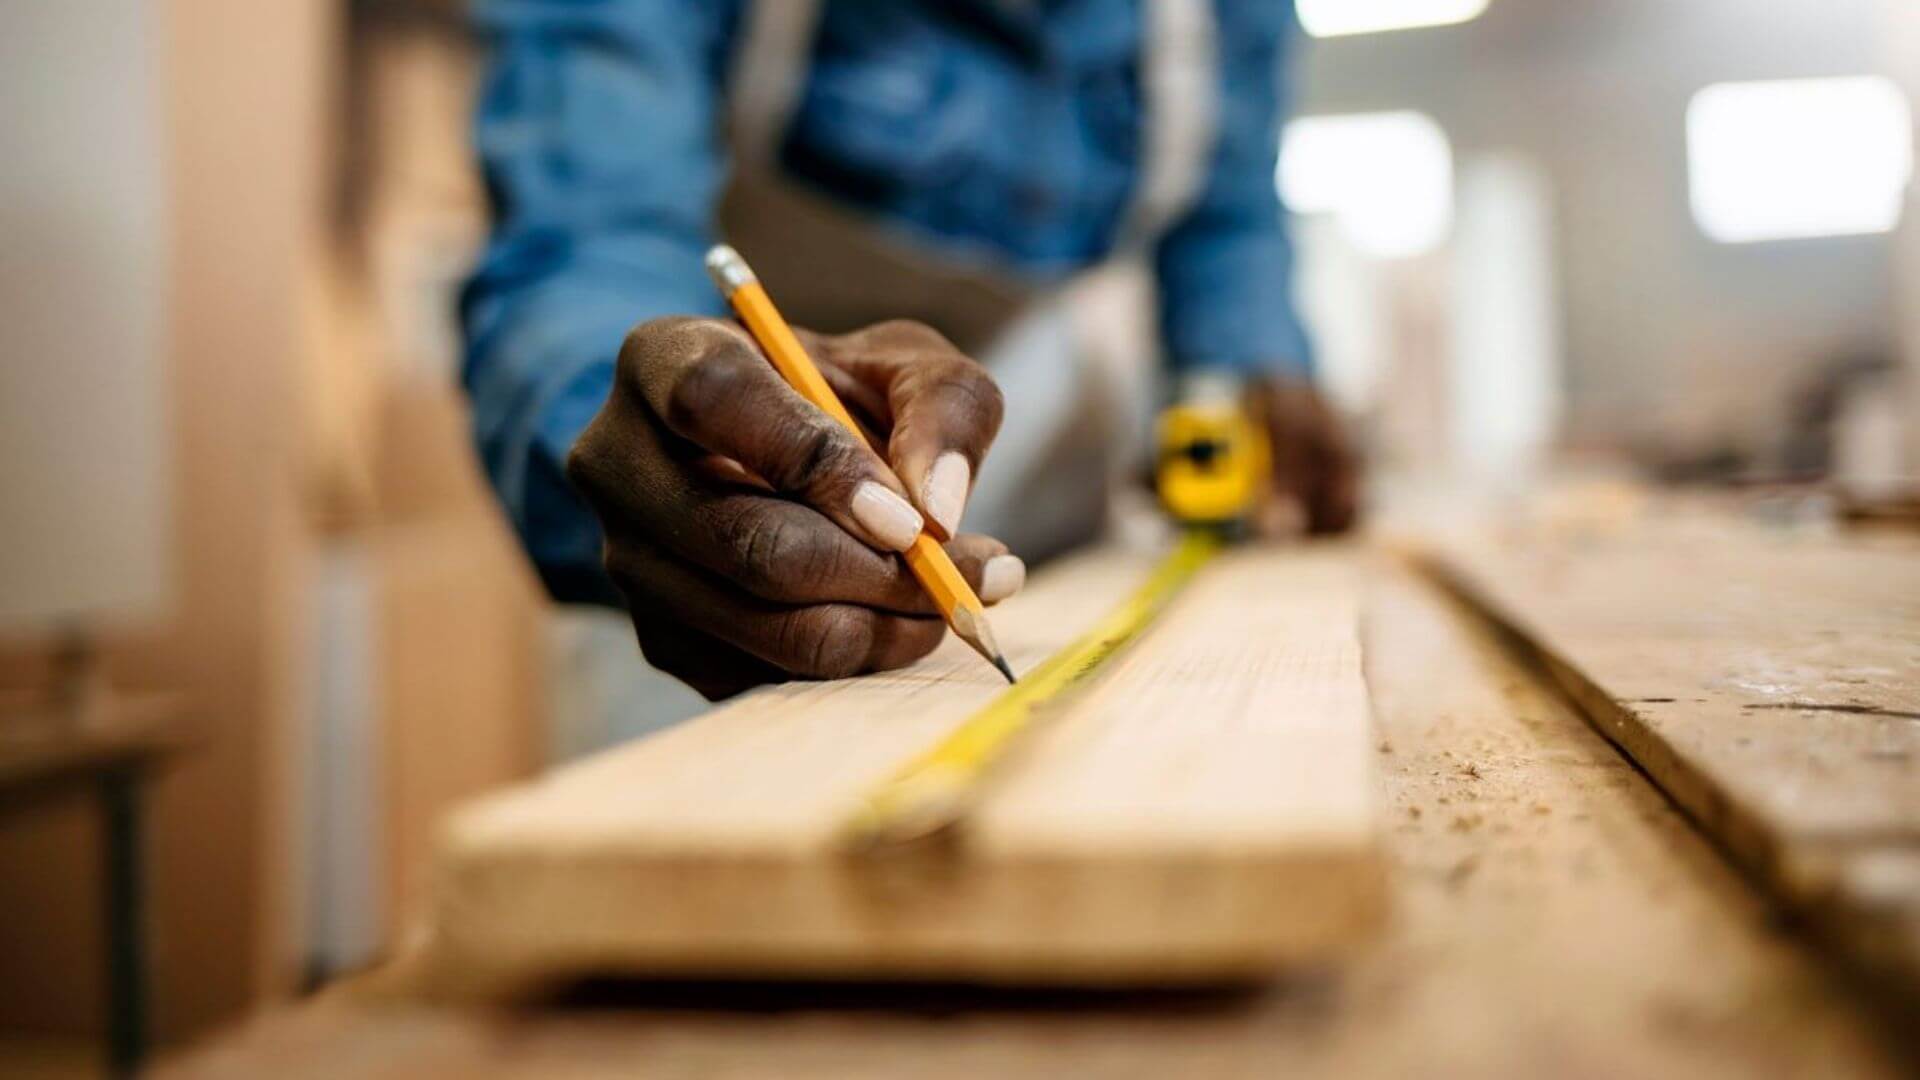
As they say about wood, measure twice and cut once. And irrespective of whether you use a ruler or tape measure, it is crucial to take accurate measurements. Once you know the measurements, move on to marking the areas.
But before we proceed to that step, let’s take a quick look at the two most effective ways you can implement to measure wood.

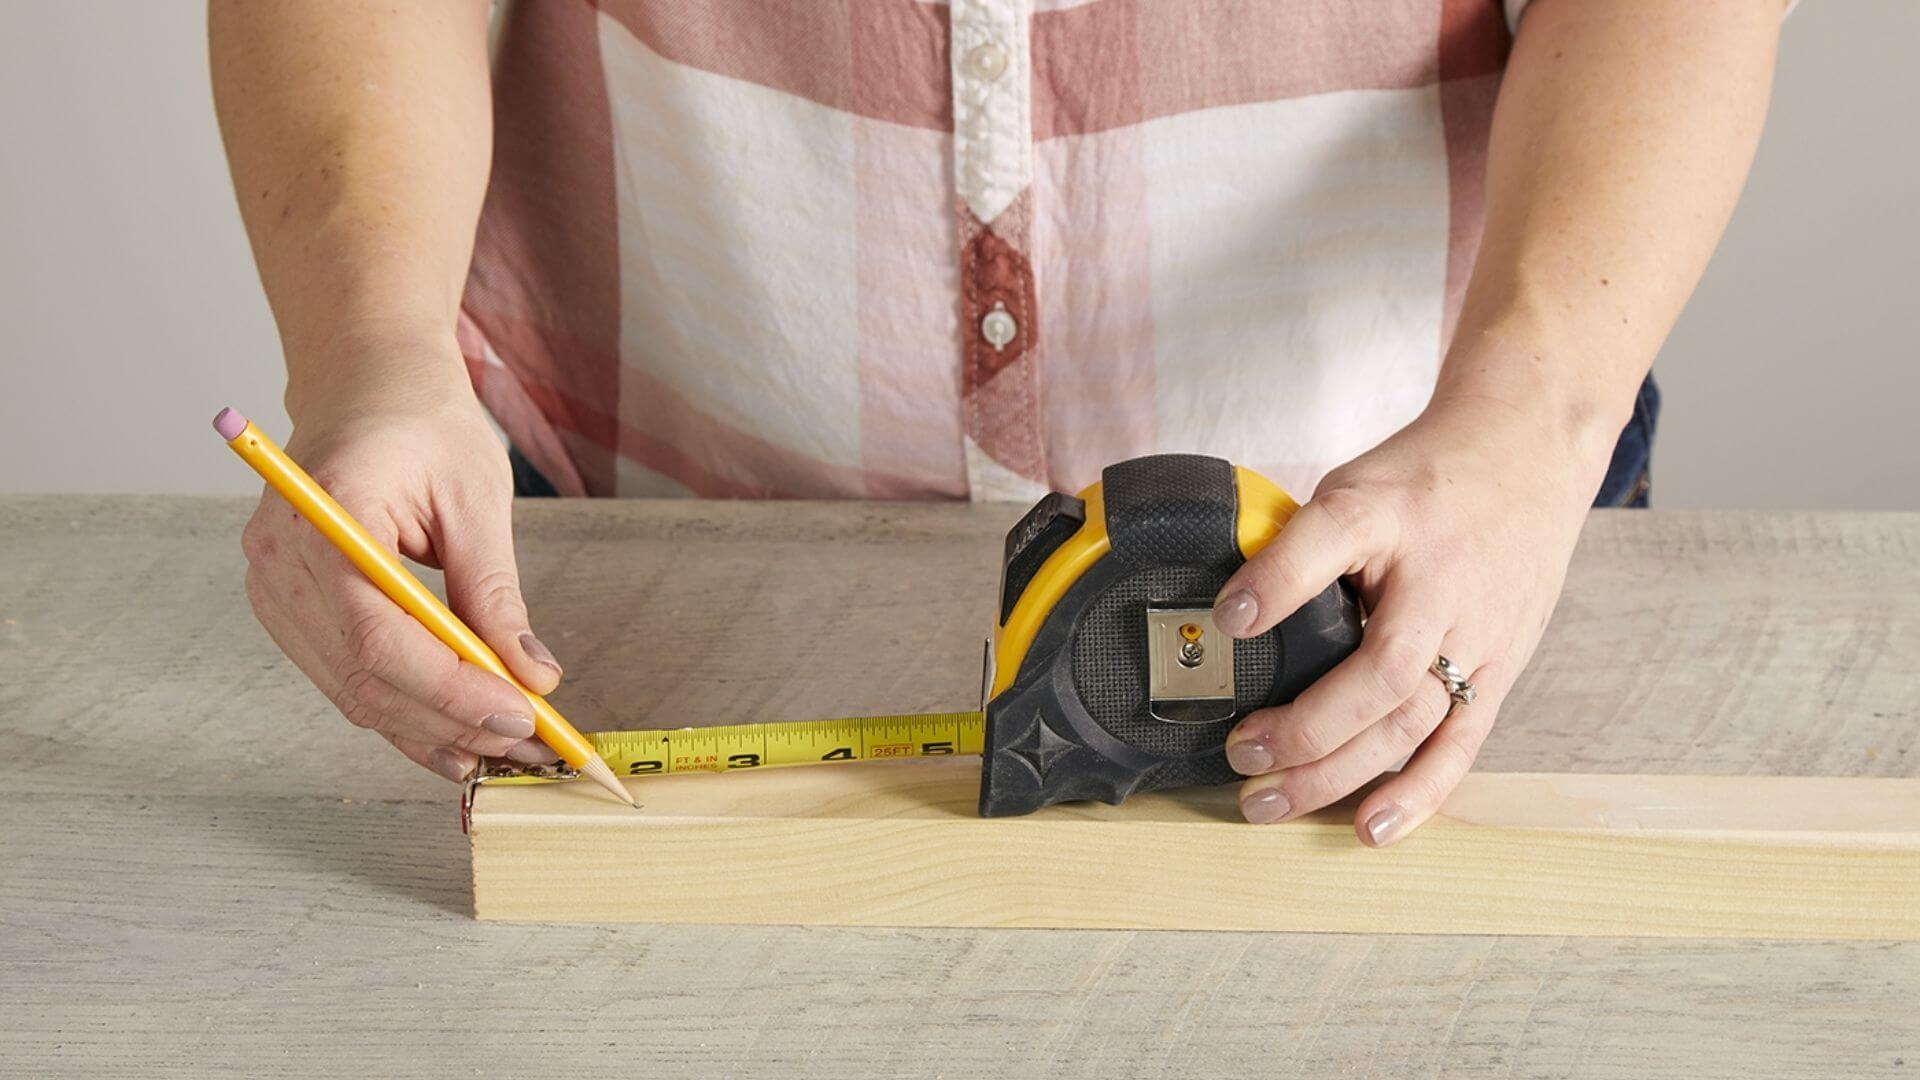
Measuring tapes are one of the simplest tools and hardly require any space for storage. You can try the metal and soft cloth tapes, as they are pretty effective at what they are supposed to do.
However, most seasoned woodworkers use a 12-inch retractable metal tape measure, so you can also start with it. It is generally preferred over the other options because it is small, lightweight, and easy to carry around. And because the tape comes with a stiff end, it ensures you can measure the surface conveniently without bunching up.
Not only that, but it’s also designed to be used by a person without any help, as the tape gets hooked to the surface. Hence, it can be suitable for both small and large projects.
But we advise you to use a ruler for more precise measurements instead.
Rulers are available in many sizes and range between 5 inches and 3 feet long. We recommend purchasing a set instead of a single piece, as you will have different rulers for different purposes. Besides, they don’t burn a hole in your pocket.
You would be surprised to know that some rulers are even foldable, making them easy to carry. This feature makes taking even a 12-foot-long ruler hassle-free.

Once you accurately measure the wood, the next step is to mark the surface before cutting it. Marking tools like a pencil or a marking knife can be your best friend. However, it would help to stay cautious to ensure the tip is sharpened well.
Consider using a marking knife if you are working on a high-end project requiring utmost precision. This will make the wood grains loose, ensuring they do not splinter when you cut. Rest assured that using this method will get nothing but the sharpest cut.
That said, woodworkers mostly use pencils for their projects. If you plan on doing the same, consider a few things. There is no doubt that you will make the cuts based on the markings. But deciding whether you will cut along the pencil line, inside the line, or outside it is essential.
We suggest that you always cut outside the line for the best results, as it leaves room to rectify any mistake. This is because if you cut more wood, there is no going back. Similarly, cutting along the line might be a little risky, as the thickness of the saw might take off some extra wood.
And unless you are an extremely seasoned woodworker, take cutting inside the line off your list.
Using a hand saw to cut all the wood is not very difficult if you know the right way. So, let’s take a look at how to get it done.
The most critical part of using a hand saw is knowing how to hold it correctly. Ensure you have a steady grip by extending your middle finger over one side of the blade. This will help you control as you glide the blade over the wooden surface.
However, do not implement the same method when using specific blades like the coping, scroll, or Japanese saw.
Regarding the first two types of saws, you need to grip the top frame with your hand. And for Japanese saws, there’s no need for added support, as they are pretty stiff and stable in themselves.
Woodworkers swear by the rule of always cutting in one direction. Ensure you do not hurry while at it, and make slow and steady strokes on the wood. Always use your free hand for extra support and stability to be more comfortable.
Be patient and make slow movements to ensure you do not put extra pressure on the wood to make it splinter. Once the saw blade has sunk into the wood, move steadily to and fro with the blade along the marked line.
Imagine your wooden piece flying off the surface while trying to cut it. Not a pleasant thought, right? Well, to prevent that from actually happening, make sure that the wood is secured correctly.
And for that, you must get some high-quality clamps from the market. Without them, the wood piece would not stay in place and keep moving as you tried cutting it along the marked line.
This will jeopardise your entire project and increase your chances of getting hurt.
Woodworking is not just about techniques but also requires some skills. If you are new to it, getting the hang of the job will take a while. However, one of the essential skills to acquire is knowing how to apply the right amount of pressure.
And to do it right, always place your shoulder behind the saw and put even pressure in a rhythmic motion. This will ensure no extra pressure on a particular spot, and the force is evenly distributed.
When this happens, the cut is more precise, and you are less likely to get hurt.
As stated earlier, you would want to make the cuts on the external side of the markings. There will be no problem in this case, even if you chopped a little extra by mistake. Hence, there will be fewer chances of messing up the project because of tiny errors.
Also, ensure that the wooden piece is adequately supported in the middle when cutting. If that is not the case and the plan is tilted to one side, then the chances are that it will break long before you are done cutting it.

With that, we will now wrap up our guide on how to measure and cut wood properly.
Whether you do woodworking professionally or are a DIYer looking to extend your timber deck, proper knowledge is essential to get the job done correctly. For that, you need skills, expertise, and the right tools.
It might indeed take you a while before you get a good grasp. But if you remain patient and keep practising, we can guarantee it will be fun. If you have any other suggestions we missed, we would love to hear all about them in the comments section below.
The team at Final Touch can help you with any building or carpentry-related project if you live in Sydney. We are available for any DIY projects you may have. So, don’t hesitate to get in touch with us.
Until next time!
Are you planning to build a granny flat on your property? Check out our guide on the top six things you need to consider before you begin.
Read Full StoryAre you wondering how to replace your bathroom vanity in Sydney? Follow this informative guide to learn how to replace your bathroom vanity yourself.
Read Full StoryAre you installing an outdoor deck for the first time and confused if you should get a permit for the same? Here’s all that you need to know.
Read Full Story

