How To Lay Decking
Are you starting a deck renovation project, but aren’t sure how to lay decking correctly? Follow our simple DIY guide to learn how to correctly lay your decking so it’s both safe and functional!
Read Full StoryHaving the nails back in place is crucial, as popped nail heads themselves coming loose is the last thing you will want to witness on your wood deck.
After all, the sharp nail heads can give become a tripping hazard for anyone walking around with their shoes. And even worse, it can cause gashes on people walking around in bare feet. Not to forget old house, lovable, furry companions who love to take occasional strolls on the deck. They can be severely hurt.

But then, you can’t always avoid loose nails altogether. So, you’ll have to deal with the deck problems as soon as possible. That’s why we’ve prepared this simplified guide to help you out.
Firstly, you should know that seasonal changes are primarily responsible for popped nails on your deck. That’s because they can generate sufficient force to loosen the nails.
During the winter months, the low humidity causes the decking boards to shrink so that the nail holes open up. And naturally, the opposite happens during summer, when the wood expands with moisture. As a result, the wood re-grips the nail to force upwards with the increasing thickness of the board.
When winter returns, the decking boards settle and loosen due to the effects of nature and even a pressure washer, which leaves the nail heads slightly elevated. This cycle continues, and you’ll likely see several nail heads protruding by about half an inch in a few years!
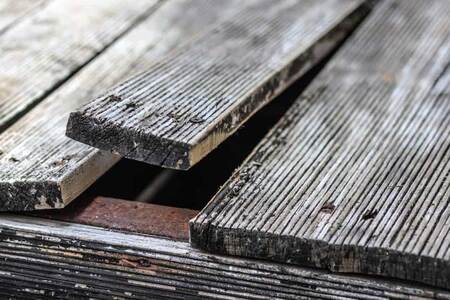
Note that this effect is especially detrimental for decks often bombarded with a lot of sunlight during the daytime. Sun exposure can cause the boards to warp and twist; the grain can eventually crack and loosen with time.
It would be best if you tried to get on top of this problem long before there are dozens of such nails sticking up from various parts of the deck.

The simple solution to this issue is to replace the nails with screws as a temporary fix, as these don’t rely on friction to fasten to any wooden surface properly. Instead, the many threads on the screws prevent these fasteners from giving in. Another great advantage of screws is that their orbital and shaft threads make them more comprehensive than nails.
To replace the deck nails with screws, the materials needed are as follows:
Now, here’s how you should go about the procedure:

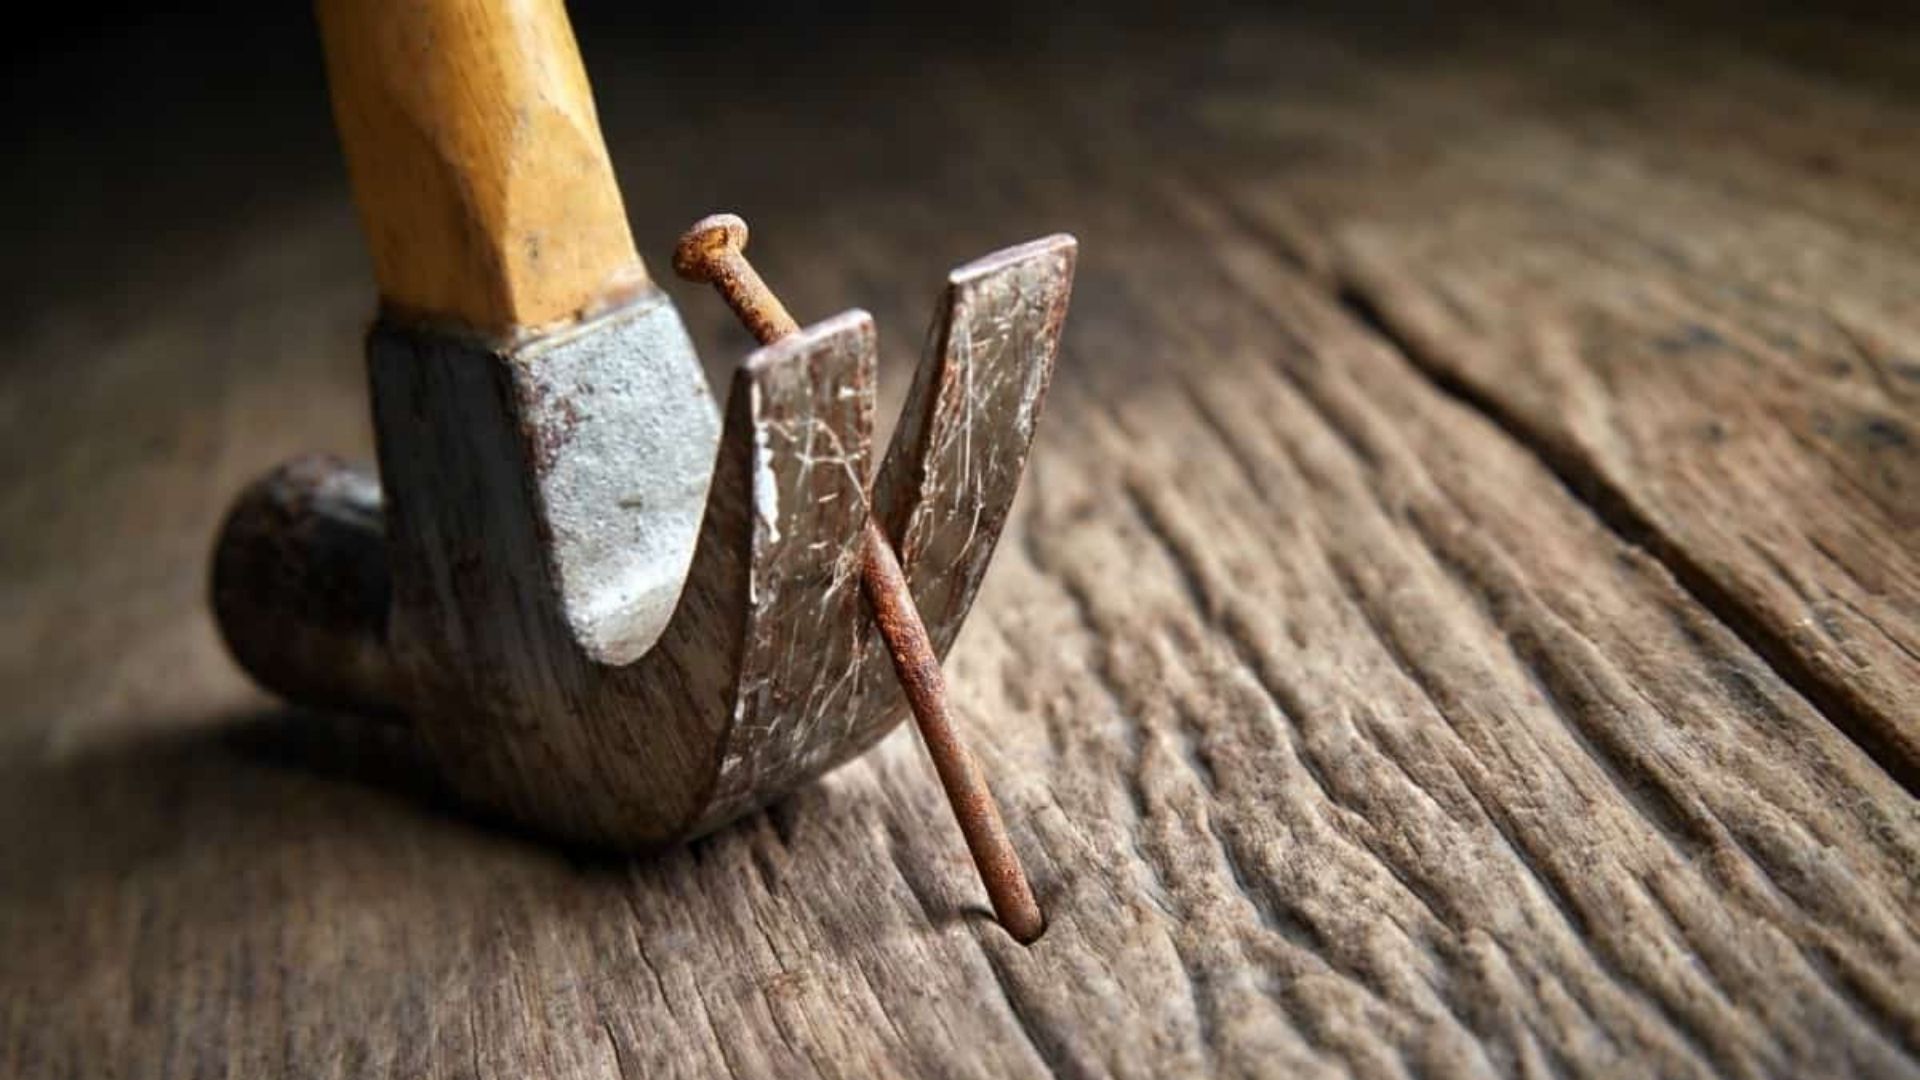
To remove old or loose nails, start by using the framing hammer to pull the nail out of the deck. But remember that you shouldn’t use too much force during this procedure. If the deck isn’t in good shape, prying and yanking the surface hard might damage it further.
Instead, it would help if you used a steady and firm prying motion. And if the nail doesn’t seem to come up, switch over to a crowbar or pry one. You may also try putting a pry block of scrap wood under the claws. However, use a putty knife or a “cat’s paw” nail puller if the nail head breaks off.
As a replacement for the nails, you must use exterior-grade ceramic-coated screws. And be careful to choose longer pieces than the removed nail, as that will help you drive the deck screw past the nailing depth to ensure it’s fastened more securely.
You’ll have to measure the old nail using a nail set to ensure its length. Note that nails used for 5/5 decking boards will most likely be about 2½ to 3 inches long. That’s why the replacements should be at least 3 inches long.
Likewise, if your deck is covered with 2x framing lumber that is 1½-inch thick, you’ll have to use 3½-inch long screws. Also, if the deck is brownish, using brown deck screws will ensure that the replacements blend in well.
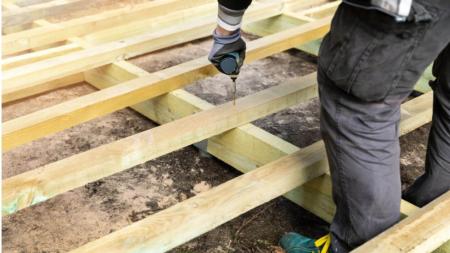
For this procedure, you can use an electric drilling machine. As for the drill bit, the ideal for this purpose should be the same width as the screw shaft and not the threads.
But a better alternative is an impact driver to set the deck screws more firmly.
Now, start driving the screw. Know that it’s likely to sink very fast as it passes through the hollow bored out at the spot where you inserted the nail. However, it will slow down on hitting the bottom of the hole. It would help if you continued driving it further.
Finally, you’ll feel resistance when the threads bite the lumber below. And the screw head will sink slightly into the surface of the board. These are indications that the screw has been set.
But if the head continues to spin, it indicates that the existing nail hole has been compromised. In that case, you’ll have to drill a new hole adjoining it.
Now, you must repeat the entire process for all the parts where you find nails popping or the nail’s heads sticking out. This also applies to the stairs and railings attached to the deck.
There you have it, a quick and straightforward method to deal with loose nails efficiently. Following each step will help you finish the job in a couple of hours. So, gather all the tools and materials and get started!
However, you can contact us if you have any more queries.
Before we wrap up, here’s one last piece of advice. If the deck you’re working on is stained, it would be best to dab the screw head with a bit of matching stain. That way, the screw will blend well with the surroundings. And remember, our team of honest carpenters and licenced builders in Sydney are always here to help. Give us a call anytime!
That’s it for today. But we’ll be back soon with more informative guides on deck repair. Till then, all the best!
Are you starting a deck renovation project, but aren’t sure how to lay decking correctly? Follow our simple DIY guide to learn how to correctly lay your decking so it’s both safe and functional!
Read Full StoryWould you like to extend the life of your deck and prevent it from warping? In this guide, you will learn the different types of wood warping and how to avoid them.
Read Full StoryAre you wondering how to replace your bathroom vanity in Sydney? Follow this informative guide to learn how to replace your bathroom vanity yourself.
Read Full Story

